The Cost of This Job
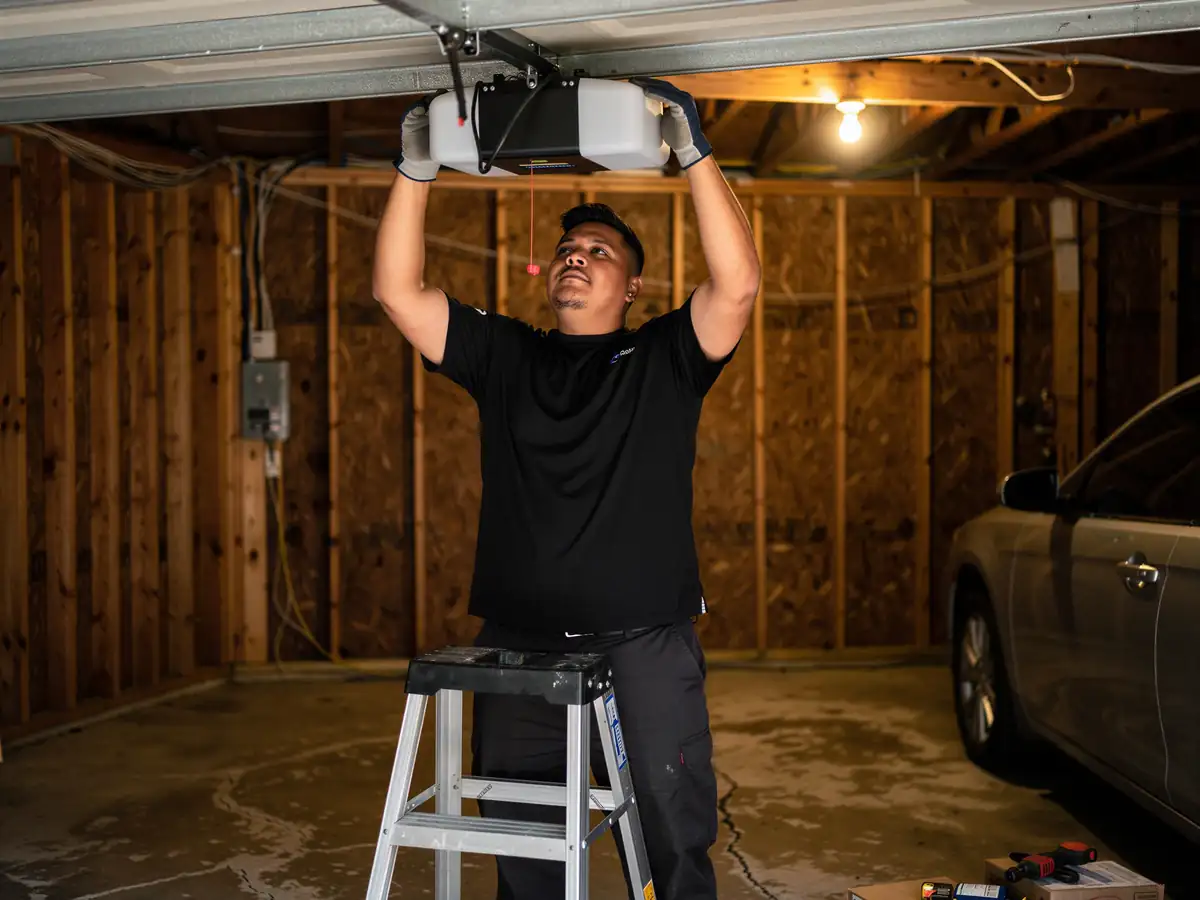
We don't post a flat number for opener installation here because the job changes with what's already bolted to your header
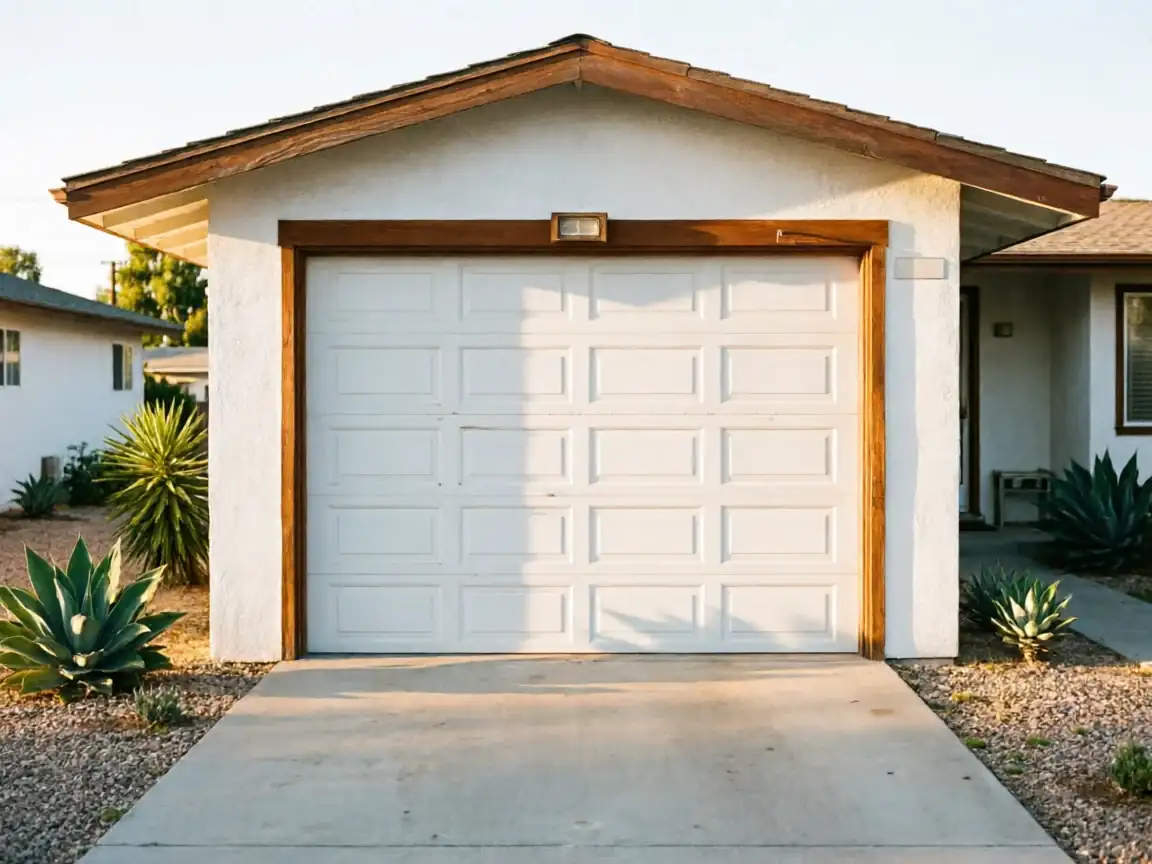
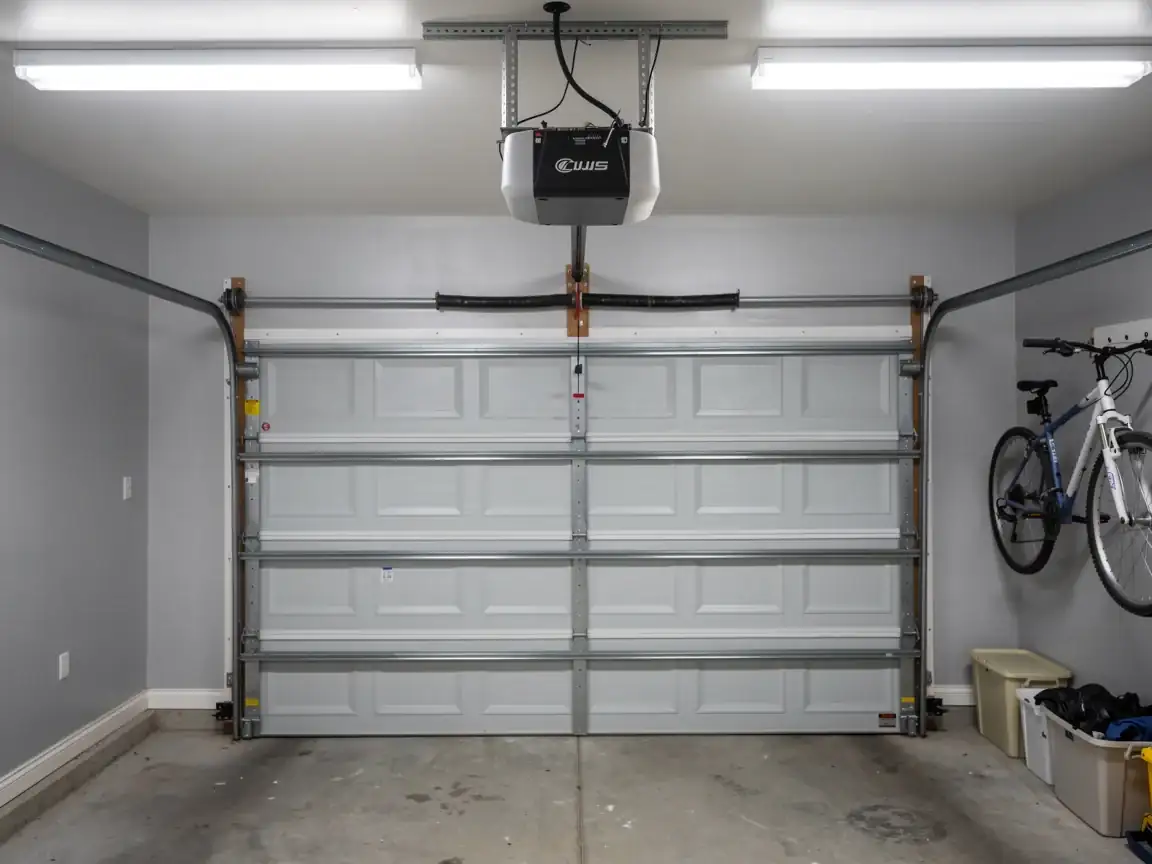
A straight swap onto existing brackets costs less labor than a job where we're also replacing a sagging track or adding reinforcement to a door built before openers were standard equipment. Most of the service area's housing went up between 1967 and 1988, with a median build year around 1975, and a lot of those garages were framed for a manual door, then had an opener added later by a previous owner or a handyman. That retrofit bracket is often the first thing we find loose.
Across the 46,922 owner-occupied houses in this service area, household income runs a median of $105,887
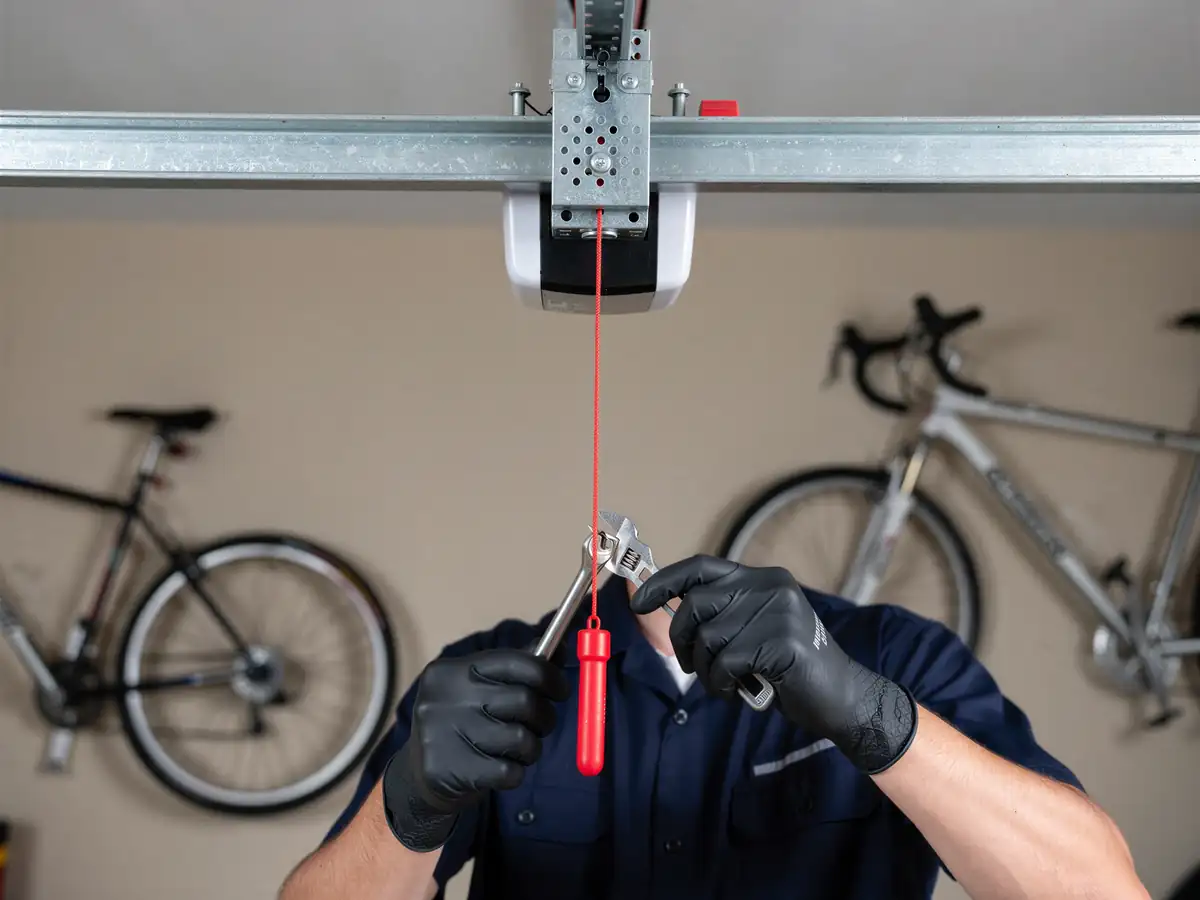
Which tells us most owners here are replacing a tired chain-drive with a quieter belt unit rather than shopping the bottom shelf. We size the opener to the door's weight and the header condition, not to a generic one-size unit, and we'll tell you up front if your header needs blocking before we mount anything. We don't install the opener if the door itself is failing - fixing that first is a separate conversation, and a cheaper one in the long run than replacing an opener twice.
- 46,922 owner-occupied
What You Are Seeing
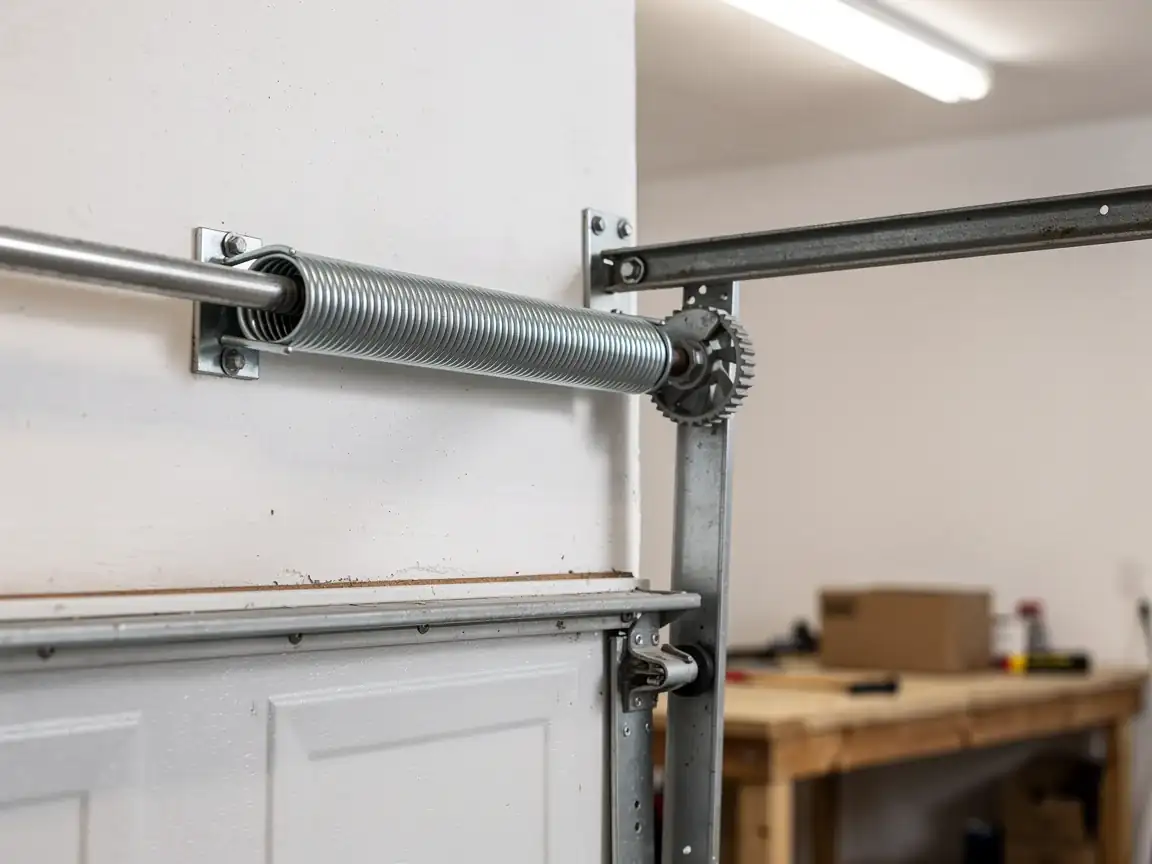
The usual call is an opener that strains, reverses on its own, or just hums without moving the door. On houses from the 1975 era, that's rarely the opener's fault alone - it's lifting a door whose springs and rollers have never been touched, so the motor is doing work the hardware should be doing. You'll also see openers that open fine in the morning and bind by afternoon; that's a track or hinge alignment issue showing up as what looks like an electrical problem.
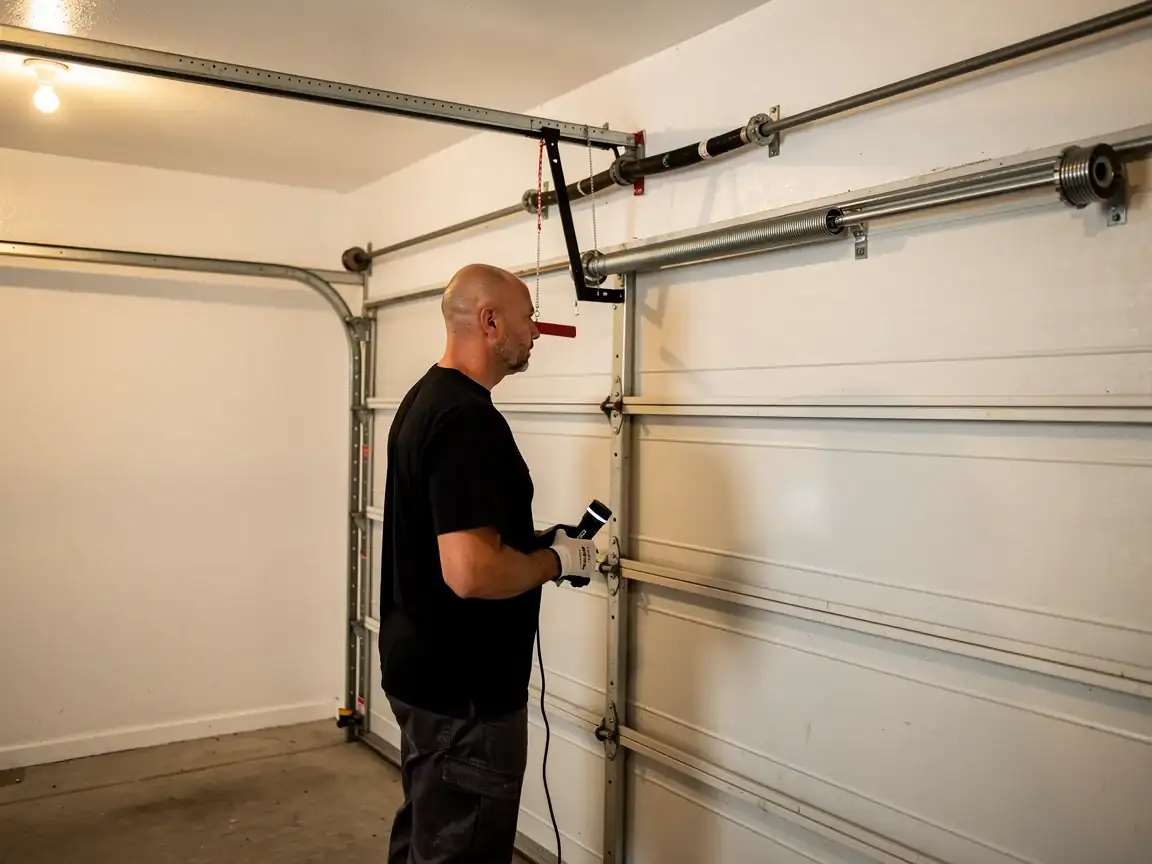
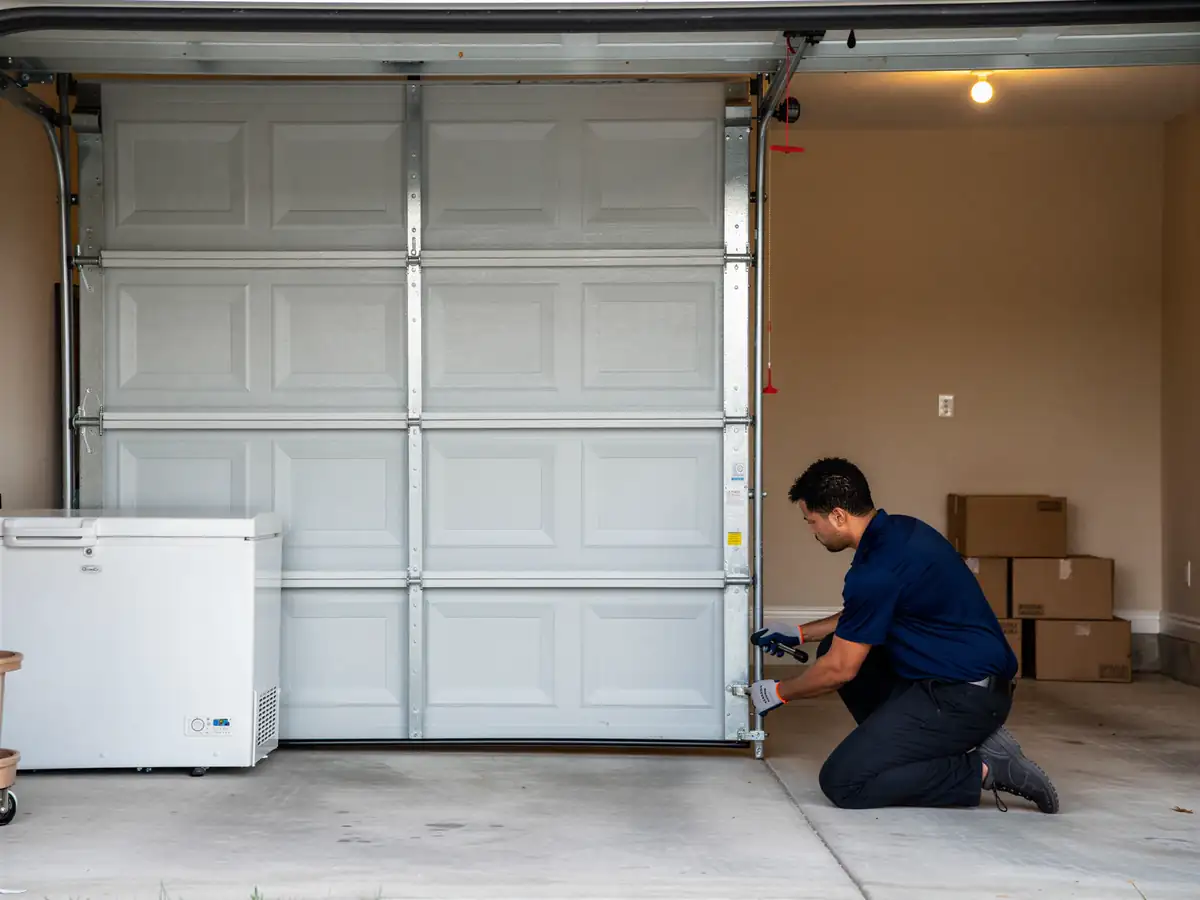
On newer motors bolted to original 1970s brackets, we sometimes find the bracket flexing under load, which reads as grinding noise through the garage, not the driveway. If your remote works from the driveway but not from inside the house, that's usually a dying logic board, not a range issue - common on units that have been running since before smart-home add-ons became standard. We check the whole chain - rail, chain or belt tension, travel limits, and the force setting - before we call anything a motor failure, because swapping a motor onto a misaligned rail just moves the strain back onto the new unit.
Why This Fails Locally
Spring Valley's mild temperate climate isn't the dramatic stress you'd get from hard freezes or heavy humidity swings, and that's exactly the problem - it lets worn parts limp along for years instead of failing fast and obviously. A belt-drive opener on a door with original 1970s-era hardware will often run quietly and seem fine for a long stretch, then fail all at once when a dry bearing finally seizes, because nothing forced an earlier symptom.
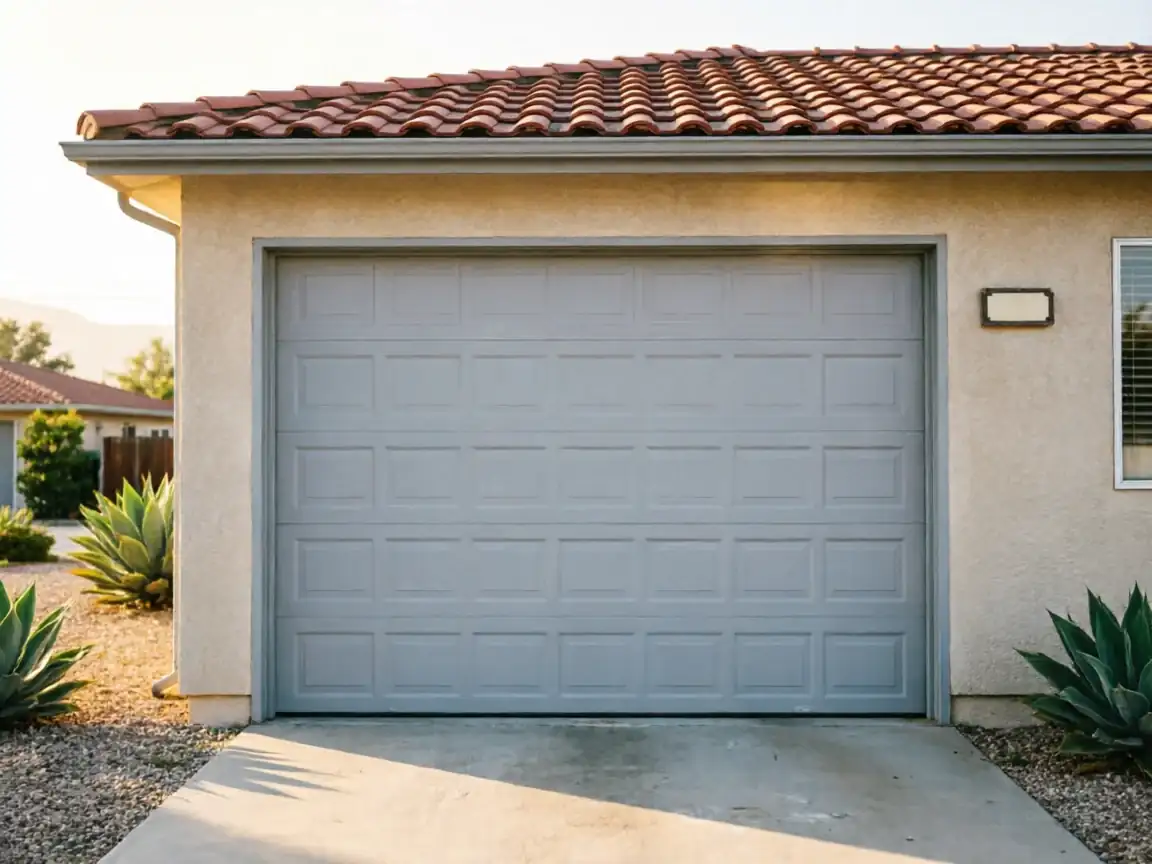
Across the roughly 18 named communities in this service area, most houses share that same 1960s-70s build window, which means openers installed in the last decade are frequently paired with 50-year-old track, rollers, and springs that were never upgraded alongside the motor. The opener takes the blame for wear sitting upstream of it. We size and install the new unit to work with what's actually on your door, and where the original hardware is too far gone to support a modern opener safely, we'll say so rather than bolt a new motor onto rail that won't hold it.
The DIY Question
A boxed opener kit makes this look like a weekend project
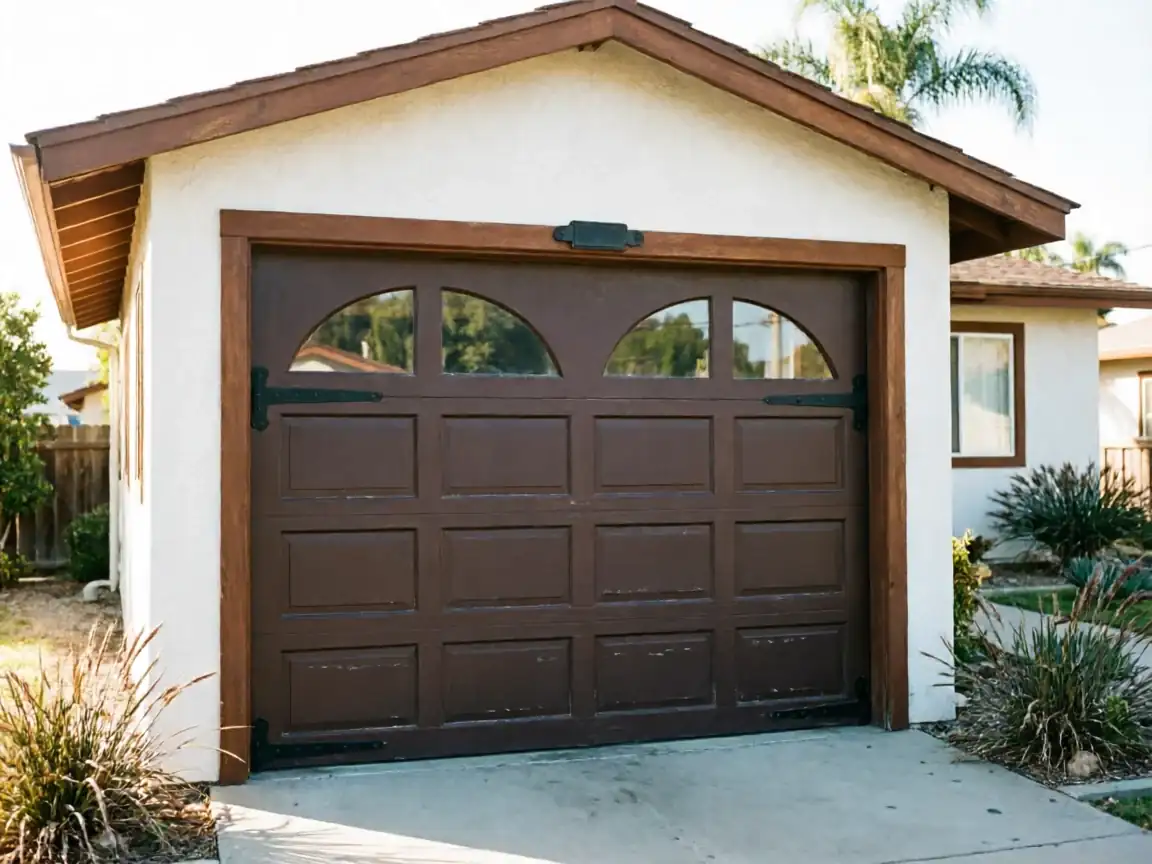
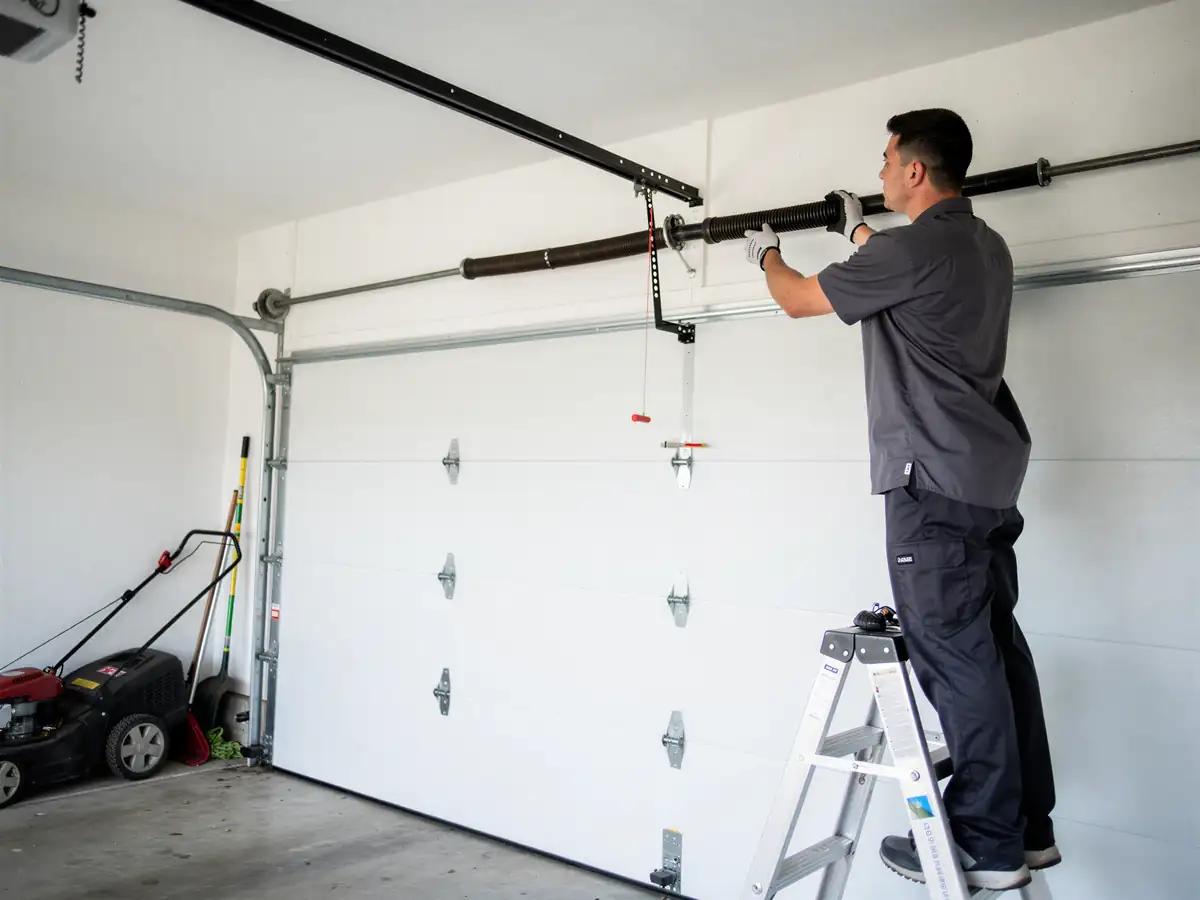
And the electrical hookup usually is straightforward. Where DIY installs go wrong on houses from this era is the travel and force limits - set them wrong on an older, heavier wood-panel door and the opener either won't close the door fully or slams it down hard enough to crack a panel or strain the cable drum.
We also see safety sensor height set to match the kit instructions instead of the actual slab
Which fails inspection and, worse, fails the thing it's supposed to catch. If your garage has the original 1970s-style door and track, we'd rather walk you through what to check before you buy a kit than have you return one that doesn't fit the hardware. For a straightforward replacement on a door that's already in good shape, a confident DIYer can do it. We just won't pretend every door in this area is that simple.