How Long You Are Without the Door
We don't keep a branch in Lemon Grove
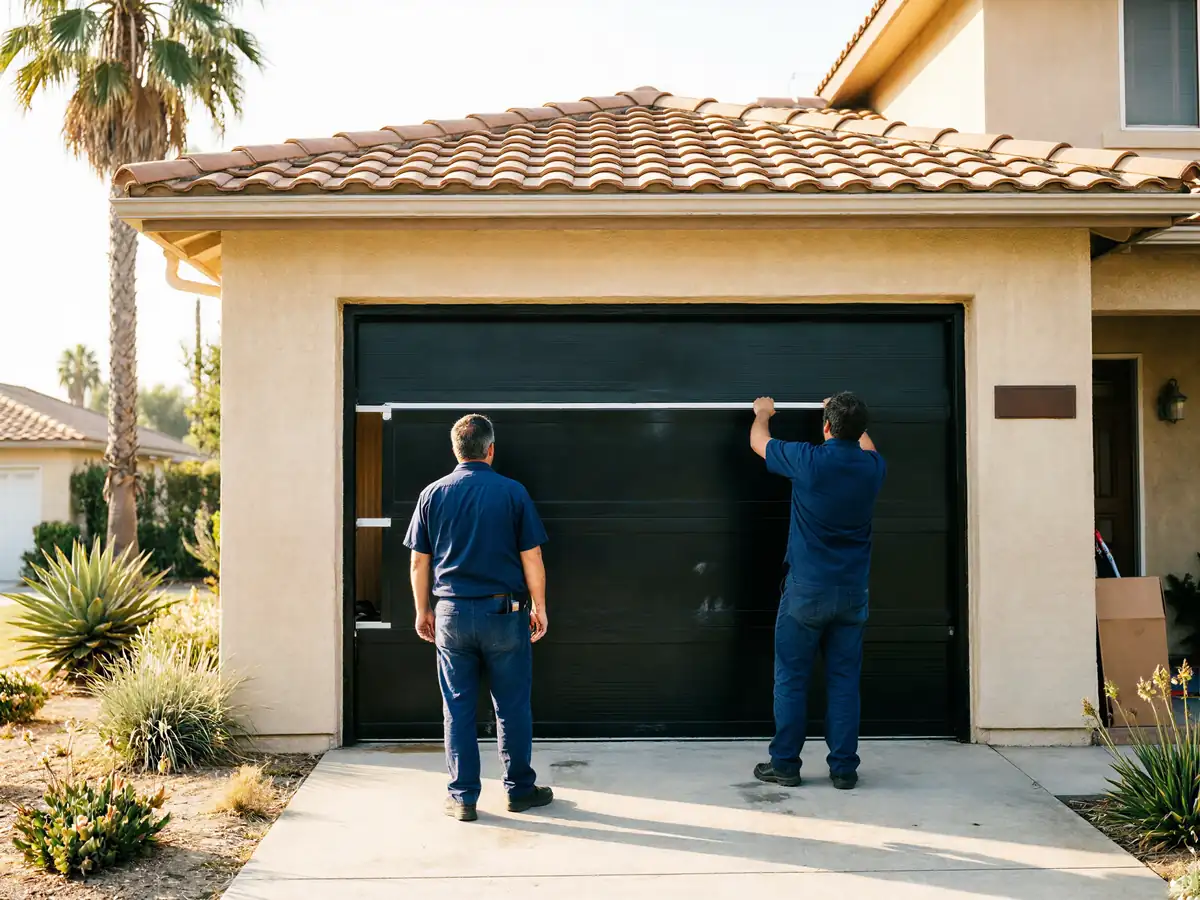
We run the job from Spring Valley, two miles out, so the time you're without a working opener is mostly the time it takes us to load the right rail length and trolley for your door once we know what's on the wall.
That matters more here than it sounds
A lot of Lemon Grove garages went up around 1967, well ahead of the service area's own median of 1975, which means the opener bracket, the header above the door, and the rail clearance were all sized for hardware nobody sells anymore. We don't guess on that from the truck - we confirm the header height and the existing bracket before we commit to a unit, because swapping a modern opener onto a 1967 header sometimes means we're also squaring up wood that's moved in fifty-plus years.
If your opener is simply dead
Capacitor gone, gears stripped - that's a same-visit swap once we're there. If the header needs shimming or the old rail mount has to come out in pieces, the job runs longer. We'll tell you which one you've got before we start, not after.
Parts We Carry
For a 1967-era garage in Lemon Grove, the opener itself is rarely the hard part - it's what it bolts to. We carry chain-drive and belt-drive units in the rail lengths that fit single and double openings from that build era, along with the shorter-throw trolleys some of these older headers need.
What we watch for more than the opener model is the safety gear. A house this old often still has an opener with no working photo-eye sensors, or sensors that were added later and wired loosely to a joist. We carry retrofit sensor kits and the brackets to mount them properly, because a new opener motor bolted onto bad safety wiring doesn't actually make the door safer.
We also keep a stock of standard wall consoles and remotes compatible with the units we install, so you're not stuck waiting on a part for the basics. What we don't stock is anything proprietary to a brand we don't install - if your old opener used a manufacturer-specific remote system that's been discontinued, we'll tell you that up front rather than promise a match we can't deliver.
How We Fix It
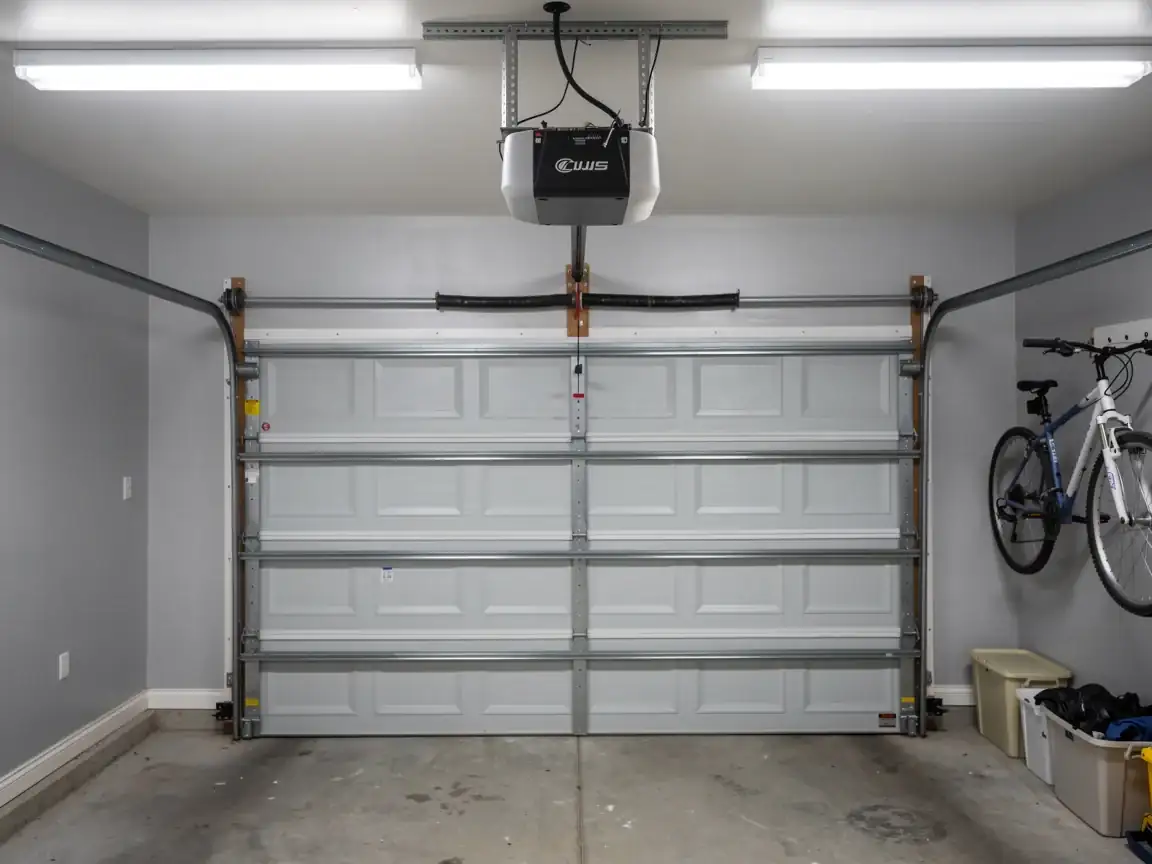
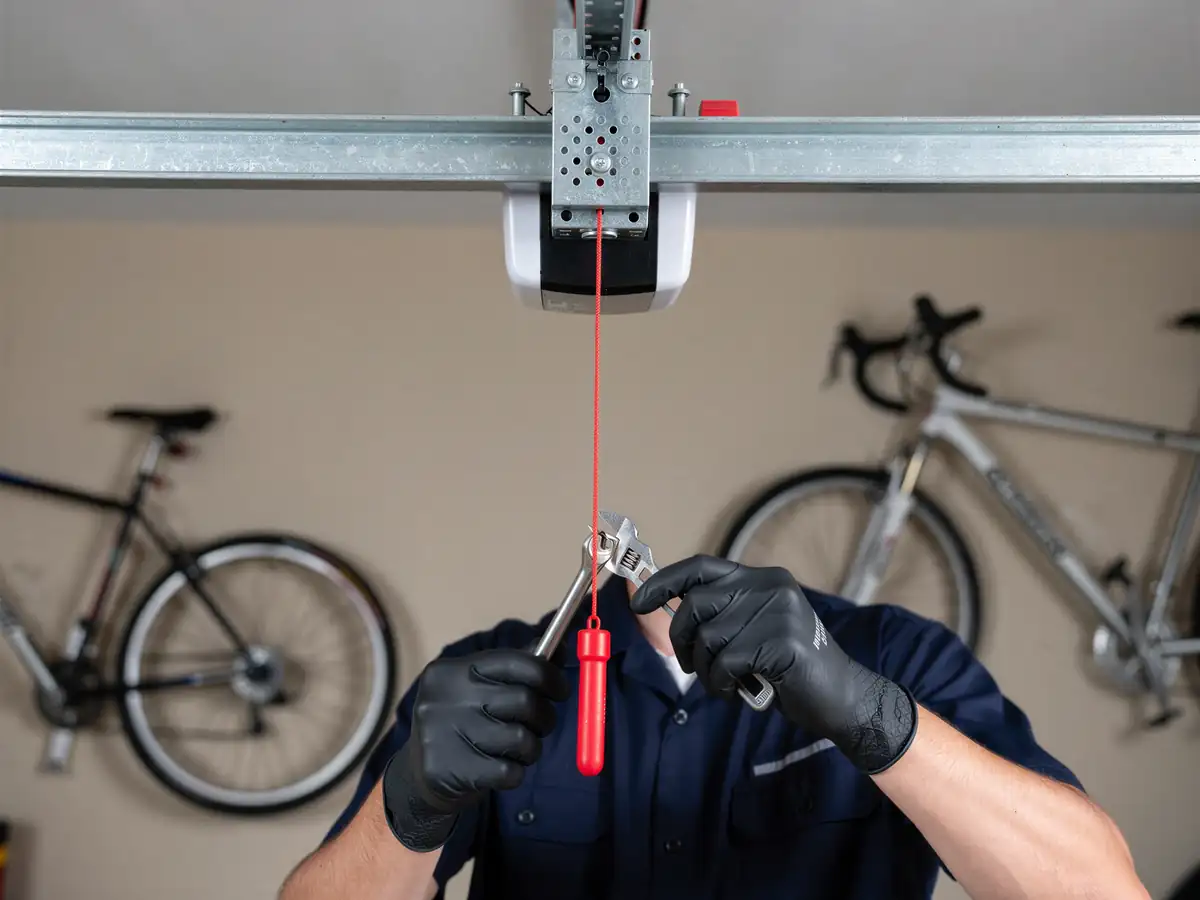
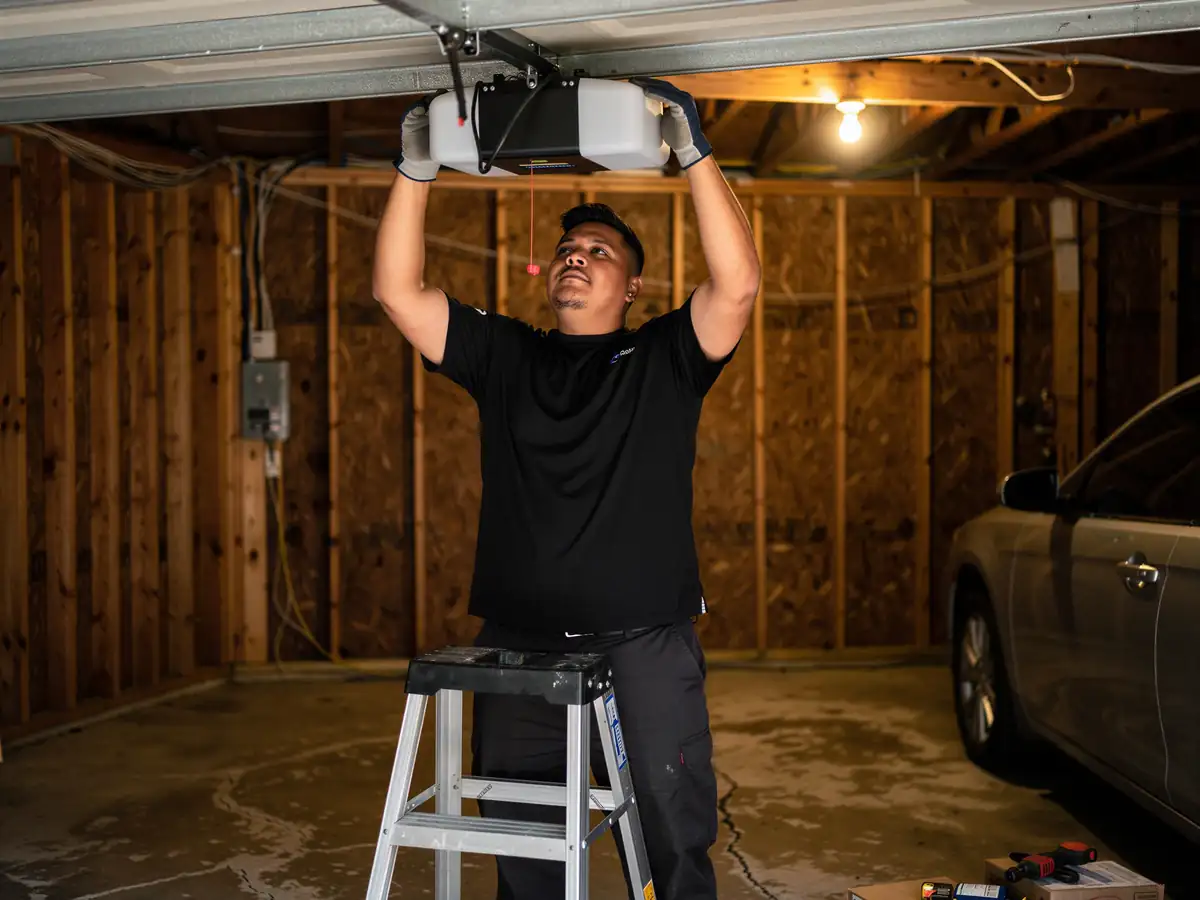
We start by pulling the old opener down and looking at what it was bolted to, not just what was bolted. On a lot of the 1967-built garages in Lemon Grove, that header bracket is original, and we need to know if it's sound before a new motor hangs off it.
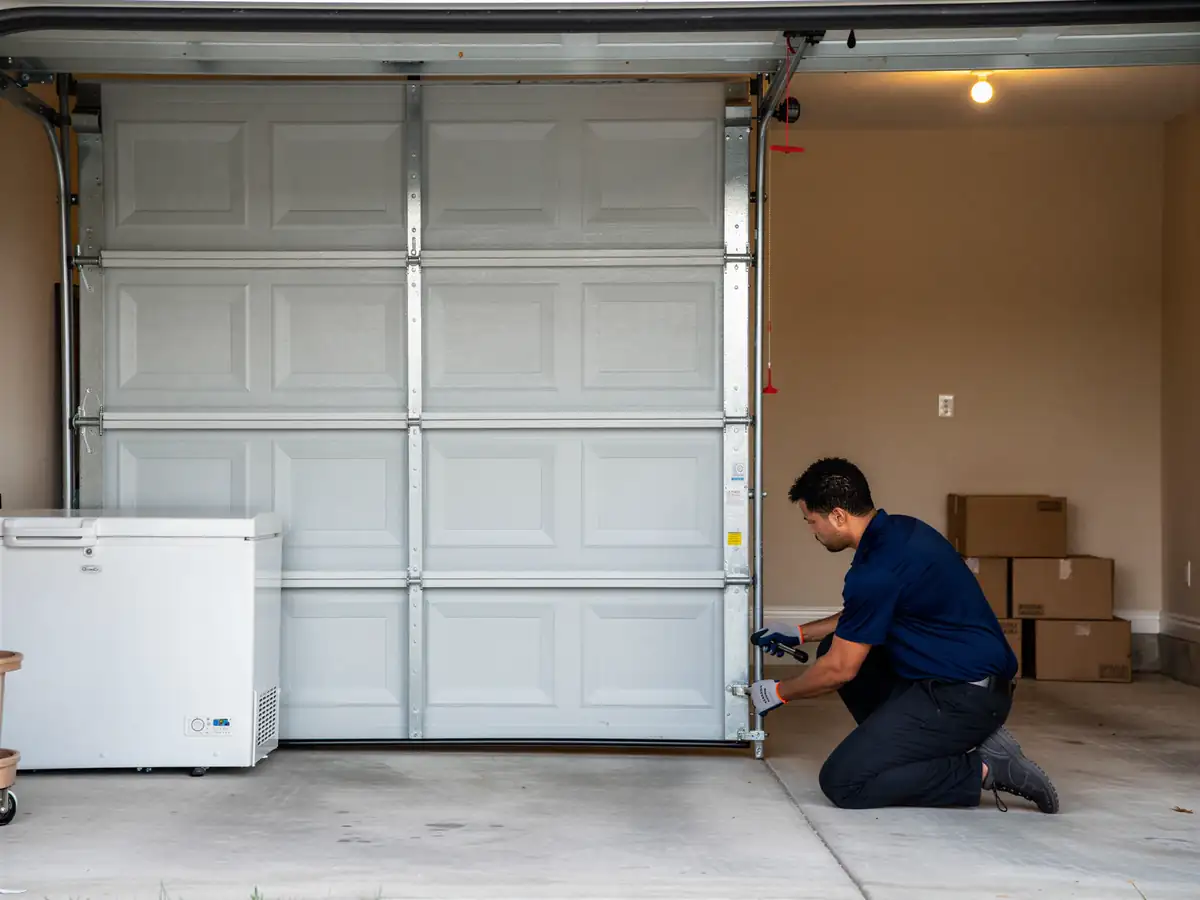
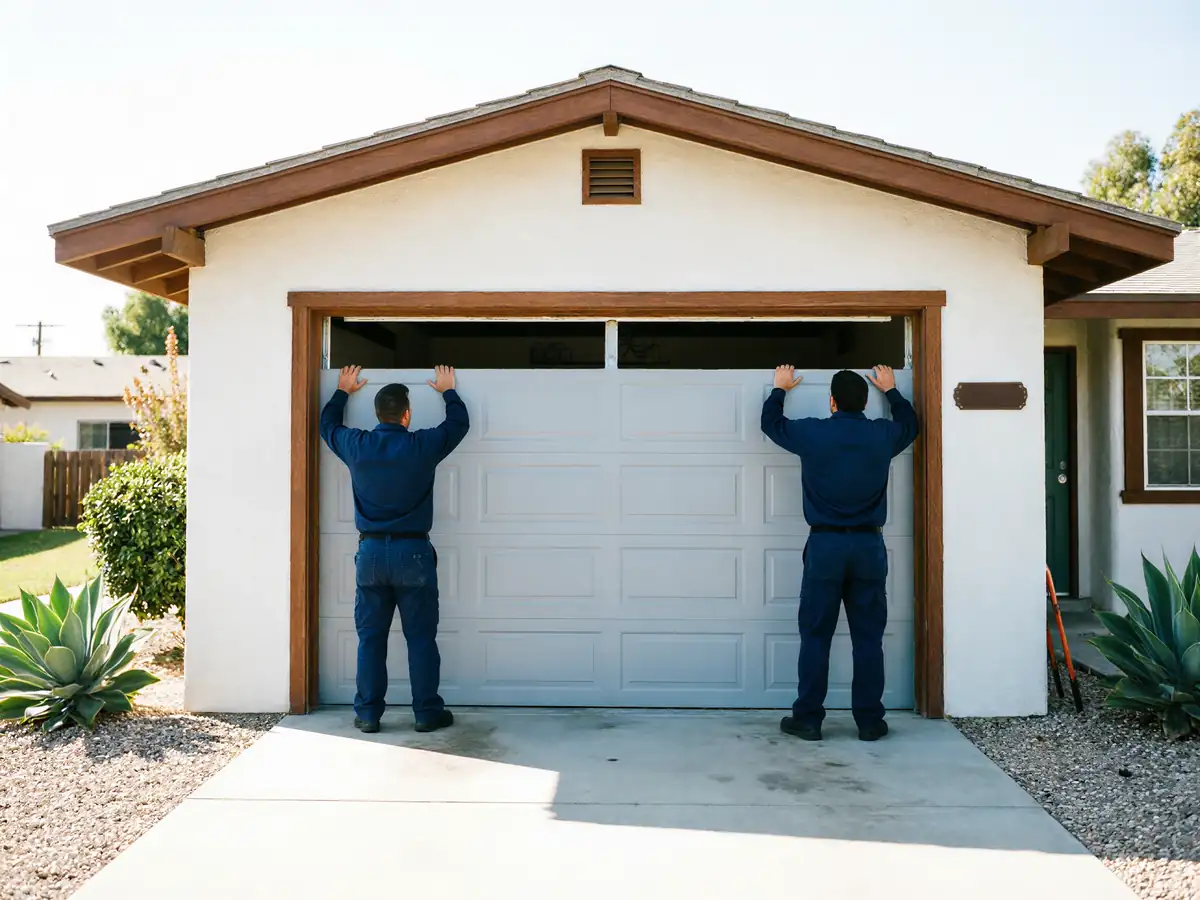
From there it's a standard sequence: mount the rail, set the trolley, hang the motor, run the wiring to a dedicated outlet if there isn't one already, and set travel limits against the actual door, not a factory default. On an older door, the spring and cable setup it's paired with often wasn't built with a modern opener's force sensing in mind, so we test the door by hand before we ever let the opener take the weight - a door that's hard to lift by hand will make even a brand-new opener work too hard, trip the force sensors, and wear out early.
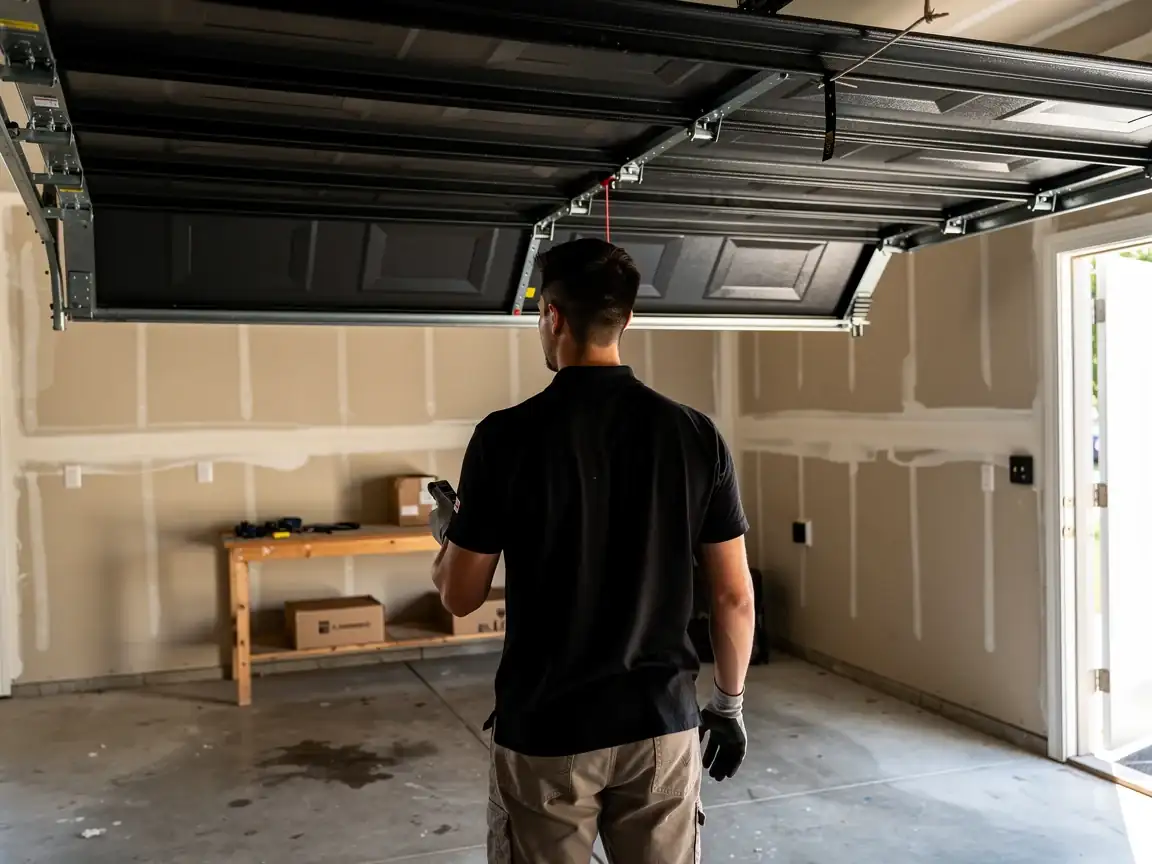
Last step is the safety sensors: aligned, tested with an actual obstruction, not just a light check. We won't call the job done until that part works, because it's the one piece that matters if something's in the doorway.
The Cost of This Job
We're not going to put a number here that doesn't hold up once we've seen your door
What drives the cost on a Lemon Grove job is usually one of three things: whether the header needs repair before the new opener can mount, whether the existing spring system is strong enough to pair with a modern force-sensing opener, and whether we're running new wiring or using what's there.
A straight swap - same bracket, same rail length, sound header
Is the cheapest version of this job. Add a header repair or a rewire for a dedicated circuit and the job runs longer and costs more, because that's actual carpentry and electrical work, not just bolting on a motor.
We quote after we've looked at the door in person, not over the phone
Lemon Grove's median household income runs lower than some of the other areas we cover, and we know that number matters when you're deciding whether to fix what's there or replace it outright - we'll give you both options with real numbers before you decide, not just the one that's easier for us to sell.
Where This Job Goes Sideways
The thing that turns a one-visit opener install into a two-visit job, in our experience with this era of house, is the header. On a garage built around 1967, that board above the door has had decades to dry out, crack, or take on moisture if the flashing above it ever failed. A modern opener bracket needs solid wood to bite into, and if it isn't there, we're not hanging a motor on it and calling it done.
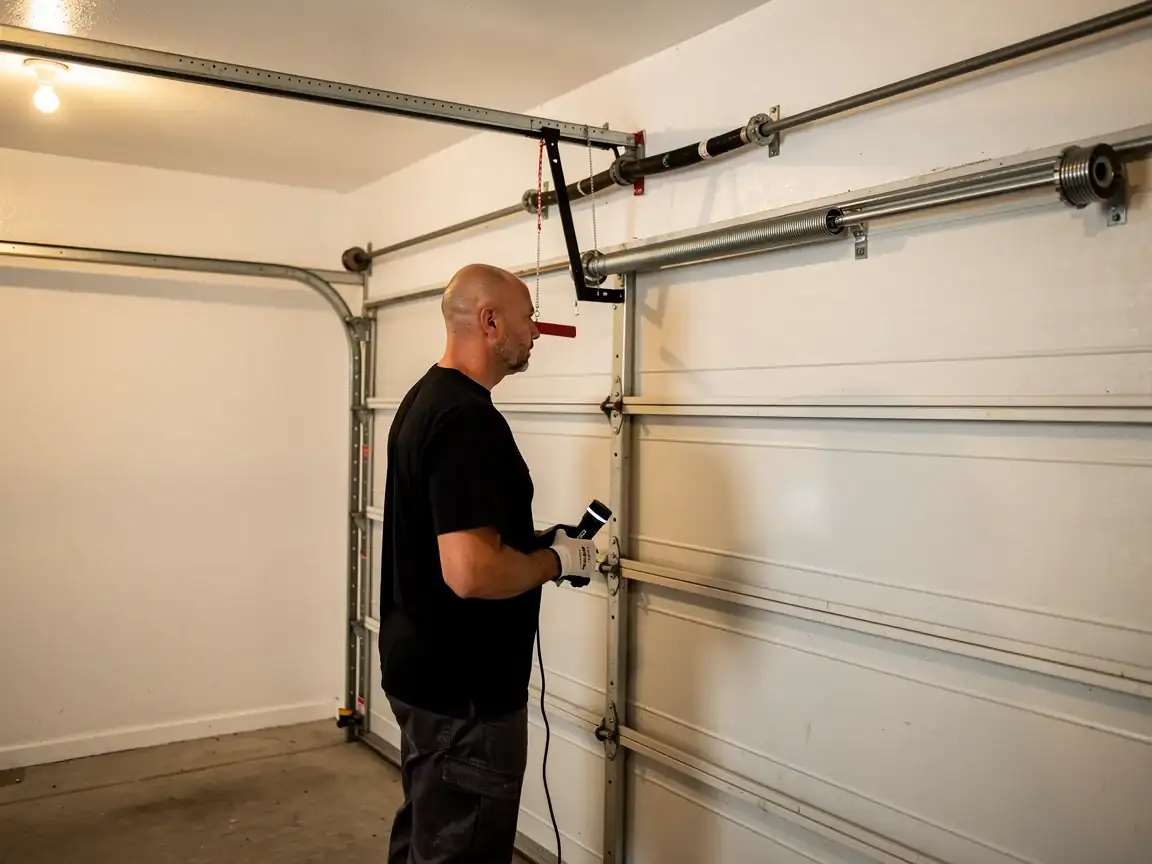
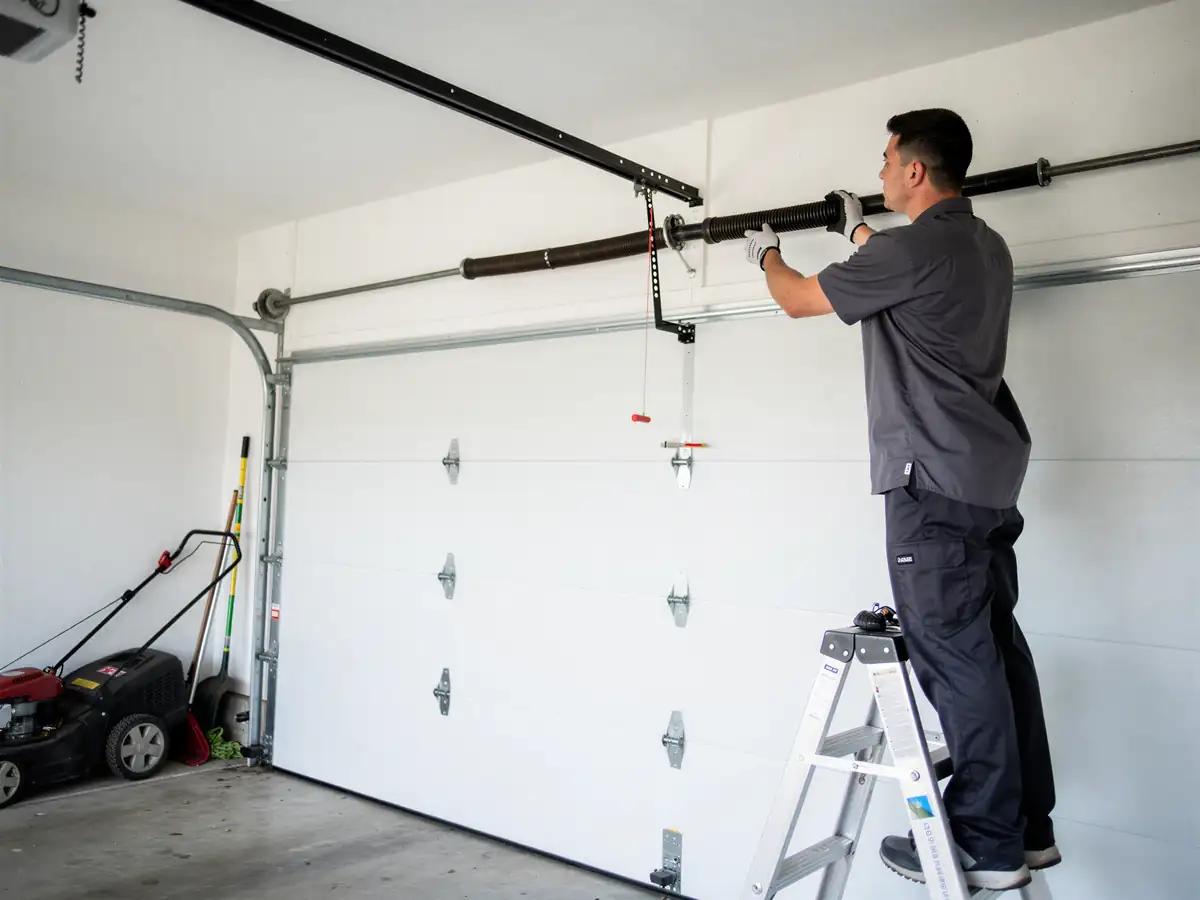
The other spot we watch is the spring. An opener is built to lift a door that's properly counterbalanced by its spring - it's not built to do the spring's job for it. If the torsion or extension springs on an older Lemon Grove door are tired, the new opener will strain, trip its own safety sensors, and wear out early. That's not a flaw in the opener; it's a mismatch we'll flag before we install, because replacing an opener twice costs more than fixing the spring once.
We don't patch drywall or repaint a repaired header - that's outside what we do, and we'll say so rather than leave you thinking it's included.